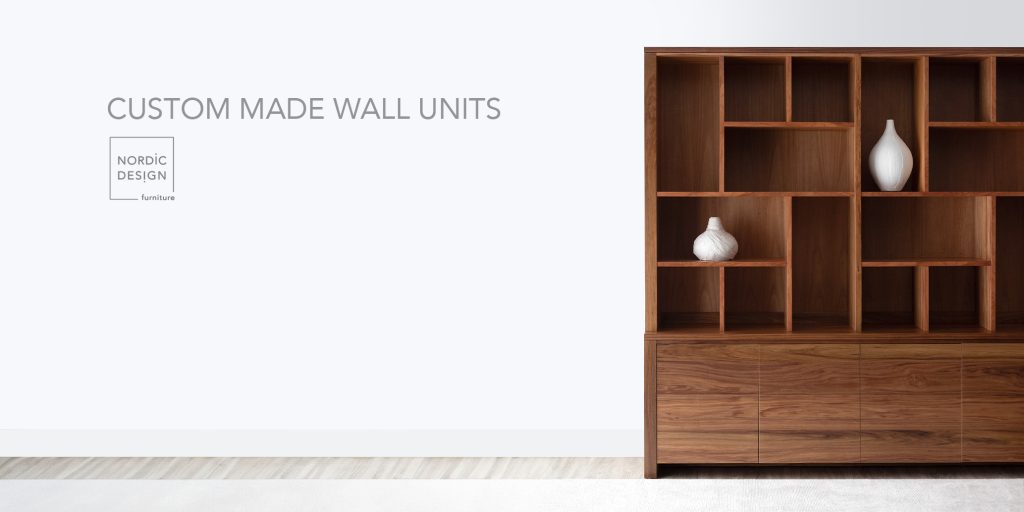
The decision of choosing a Custom Wall Unit involves careful planning, design, and execution to ensure a functional and aesthetic result. Luckily, if you’ve decided this is the path you wish to explore, Nordic Design are well experienced and can easily assist you. With over 50 years of experience in designing and crafting Custom Wall Units, we have ample knowledge and suggestions for you. In this article, we will explore the steps involved in creating a Custom Wall Unit, from initial concept, all the way to final installation.
1. Assessing the Space
The first step in creating your Custom Cabinet is to assess the space where you intend for the unit to be installed. Measure the dimensions of the wall and take note of any architectural features or obstacles that need to be considered. This will help determine the size and layout of your Personalised Wall Unit. Additionally, it’s worth considering existing furniture within the same area so you can accommodate space for movement and re-decorating too.
2. Defining the Purpose
Next, determine the purpose of your Custom Wall Unit. Are you looking specifically for additional storage space, a display area for designer items, or a combination of both? Understanding the intention behind your Bespoke Furniture will guide the design process…

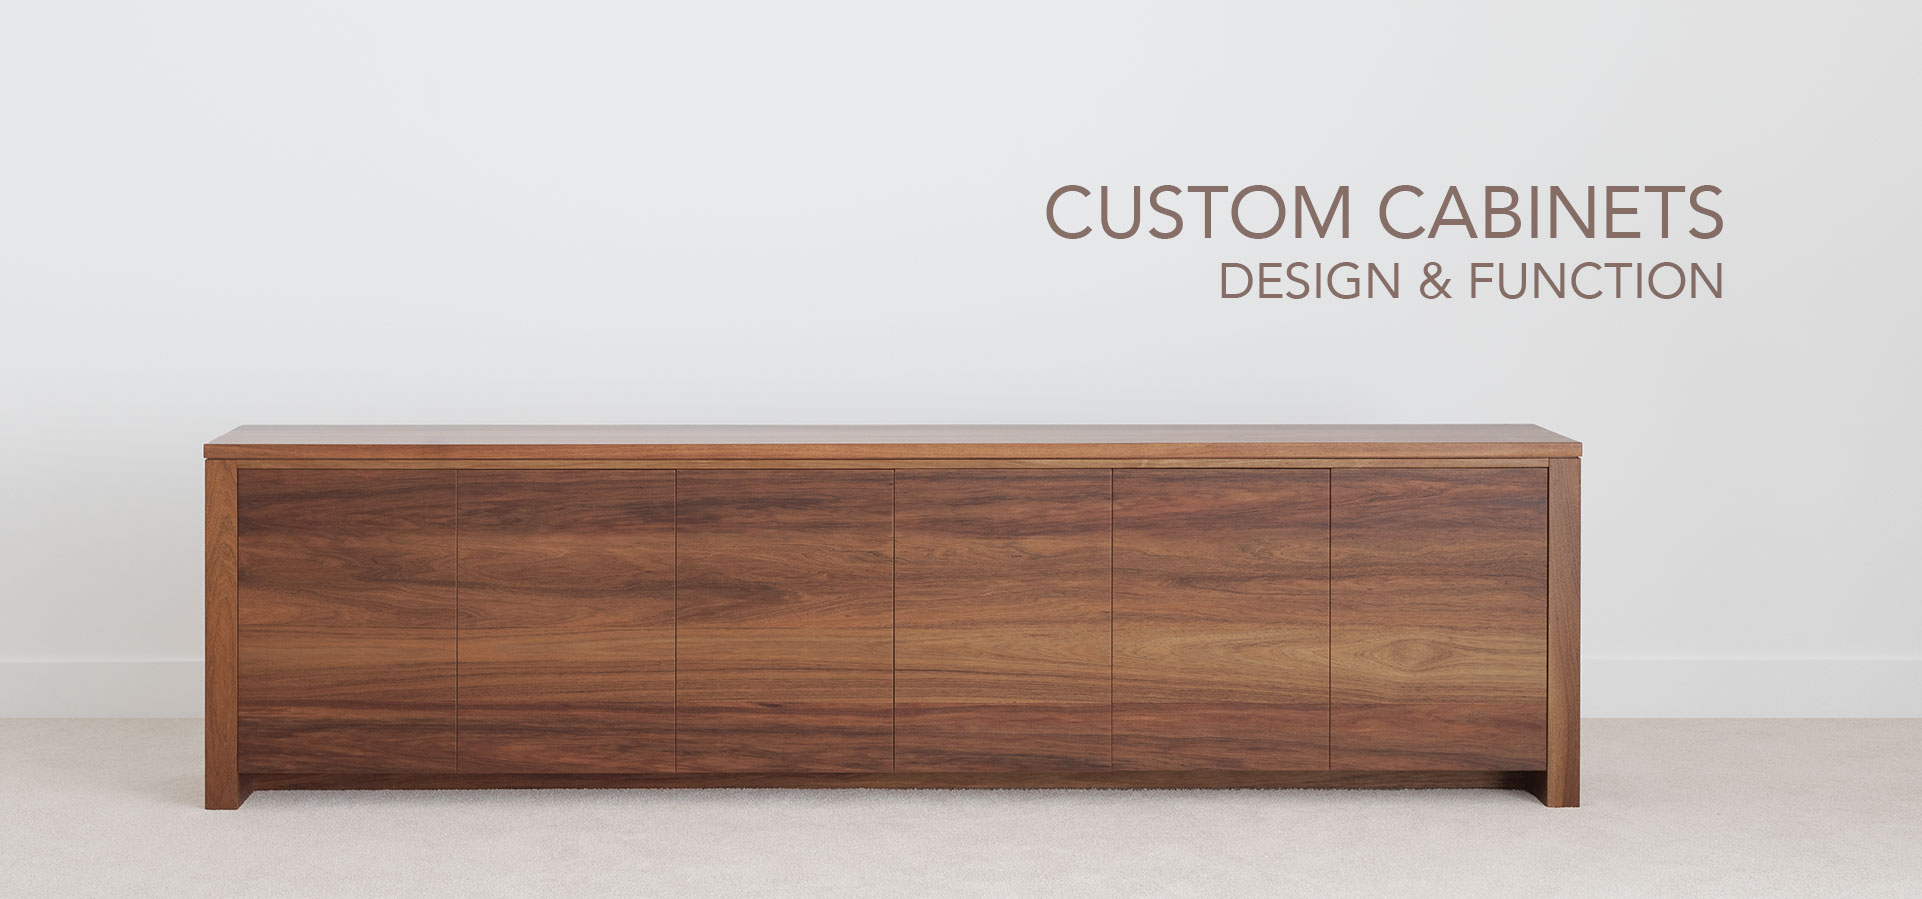
As Nordic Design individually hand craft every item in our Local Furniture Factory, there is no limitation to what needs we can fulfil. We’ve previously crafted hundreds of Custom Cabinets for our customers which combine several functionality requirements and still maintain a beautiful visual look.
3. Designing your Wall Unit
Once we’ve defined how you’re planning to use the Wall Unit, it’s time to start the design process. Consider the overall style and aesthetic of the room to ensure the unit complements the existing look and feel.

Along with you, we can sketch out different configurations and layouts, taking into account the desired storage compartments, including Shelves (both fixed or adjustable), Drawers, and any other special requirements such as a Wine Rack or built in Bar Fridge. It’s all possible…
4. Material Selection
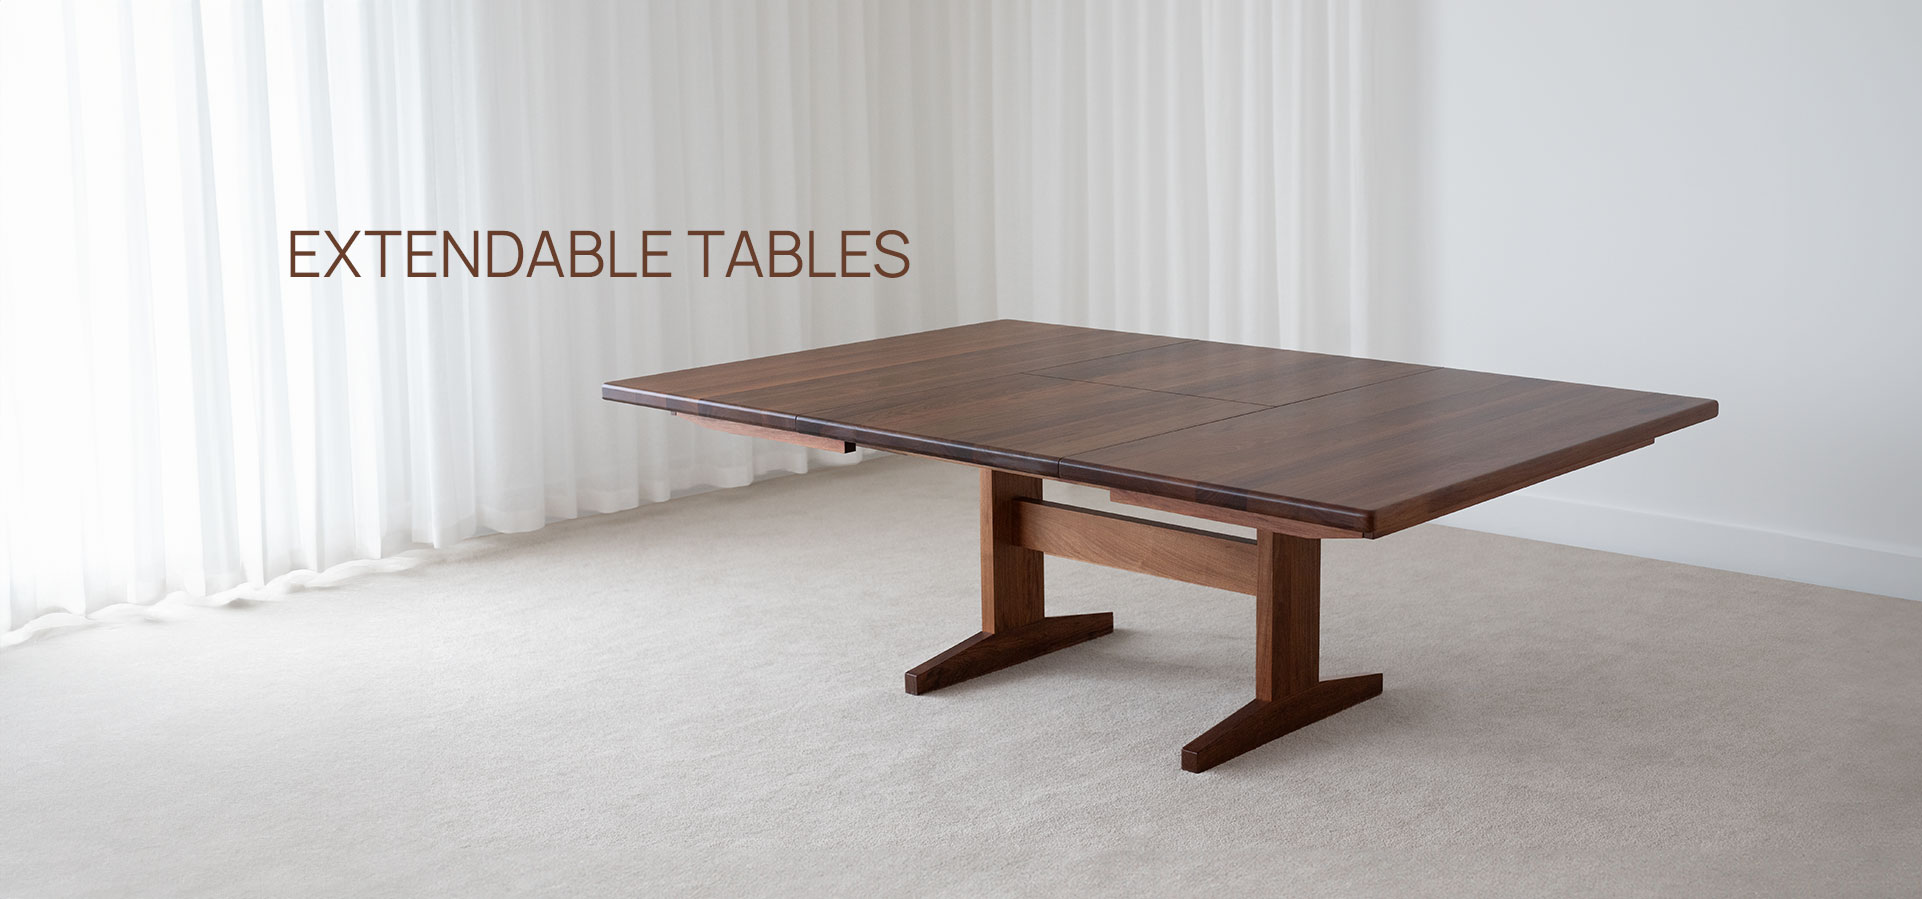
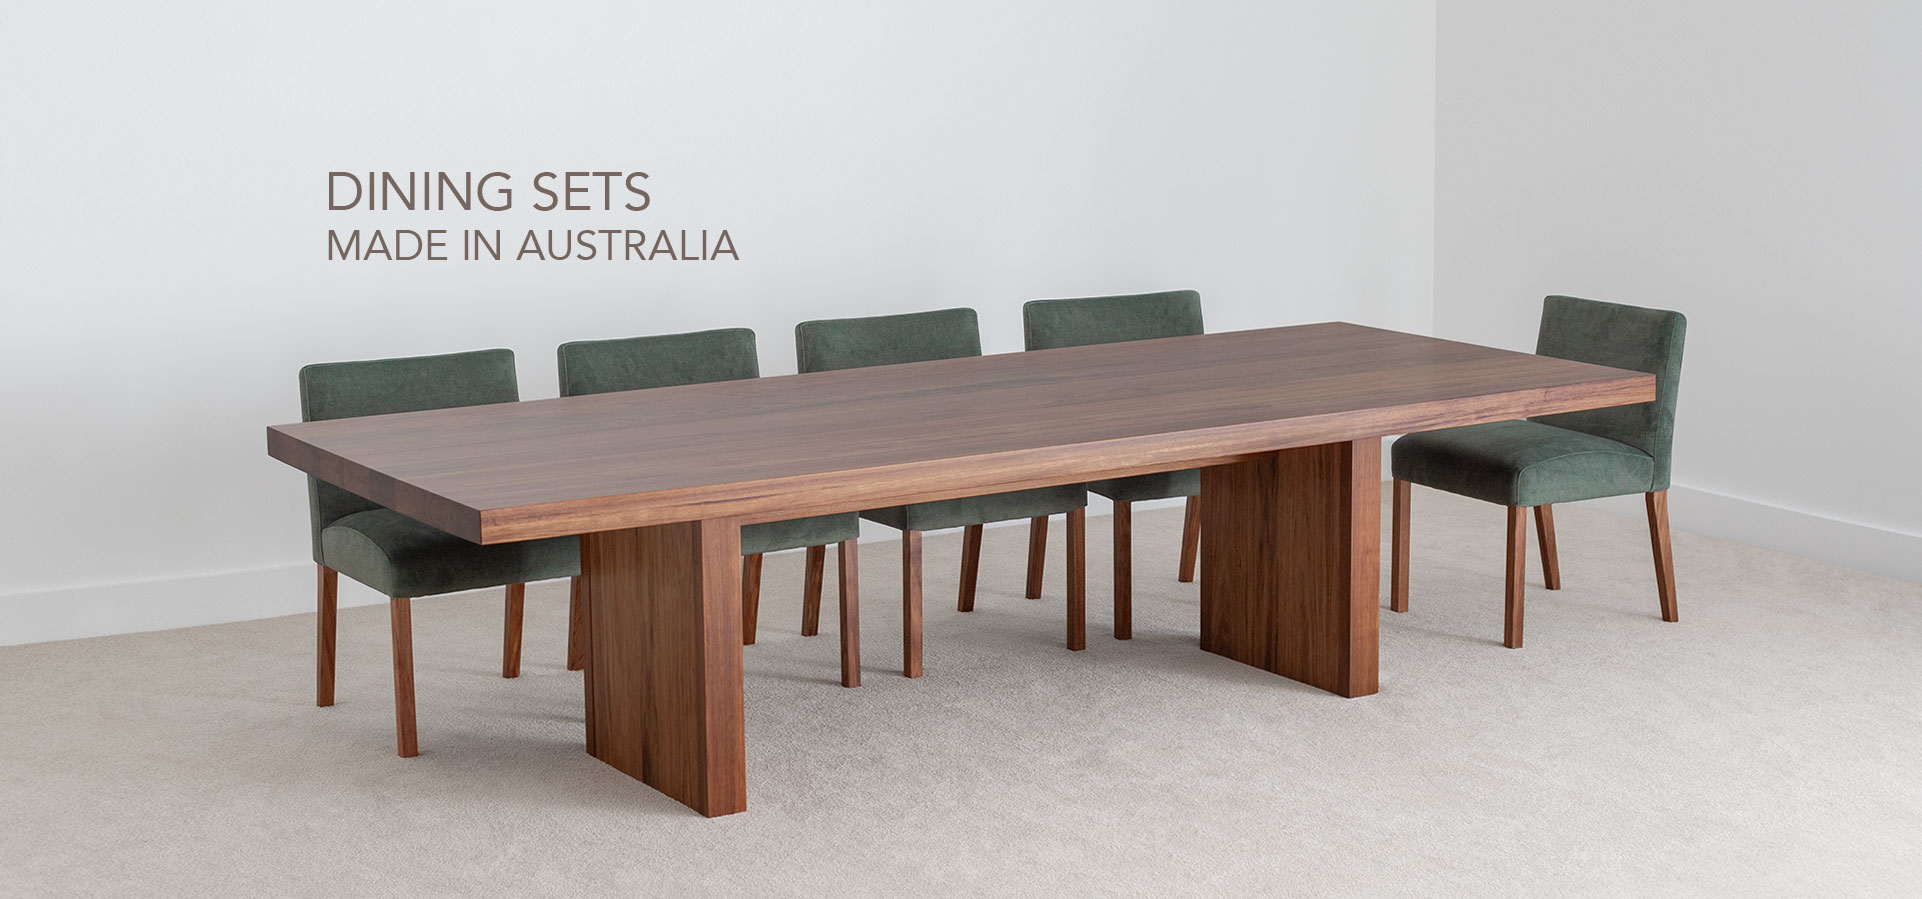
When it comes to materials, our experienced craftspeople use only Premium Hardwood Timbers along with traditional crafting techniques. Because of this, all of our Contemporary Custom Furniture is made to last many years of enjoyed use (without wearing over time). With so many timbers available to choose from, you’re ensured exactly the look you want.

Some of the timbers we offer include Tasmanian Blackwood, Tasmanian Oak, Victorian Mountain Ash, Western Australian Jarrah, Tasmanian Silver Wattle or American Oak. Alternatively, if you have existing furniture pieces you’d like to match, our specialist polishers can closely match colour tones. So in other words, the options are endless…
5. Experience for Over 50 Years
As mentioned, Nordic Design Furniture have been Locally Hand Crafting Furniture for over 50 years. This means, we’ve got plenty of experience in knowing what works and how best to achieve it.

And while there’s plenty we can say, sometimes there’s nothing like seeing to believing. In our Showroom, we have a large range of items displayed for you to explore and feel up close. In addition, we also have a digital photo library showcasing thousands of Custom pieces made for previous customer’s over the years. This is particularly helpful when designing Custom Furniture, as you can see exactly how it will work once made.
6. Building the Unit
The construction process begins with the fabrication of the individual components for your Custom Wall Unit. This includes cutting and shaping the materials, assembling the frame, and adding the desired features such as Shelving, Doors, and Drawers.

The use of precise measurements and attention to detail is crucial at this stage. Luckily, our craftspeople have years of experience and have been working with Solid Hardwood Timbers for many years, so the quality of your finished piece is guaranteed to be of the highest standard.
7. Finishing Touches
Once your Custom Cabinet is built, it’s time to apply the finishing touches. Such as your chosen finish (whether gloss, satin or matte), plus your handle selection. If you’ve opted for Glass Doors, this is when they would be included as well. Each and every element is well considered and comes together so you’re presented with the perfect outcome.
8. Installation
Once your Wall Unit is complete, you’ll be invited to inspect it in our Showroom. You can spend as much time as you like admiring it and exploring all of the components you’ve included before organising delivery to your home.

We have a preferred Removalist Company which we can recommend who will communicate with you directly to arrange delivery. They will also ensure your Wall Unit is successfully setup in exactly the position you wish, so you can feel confident in it’s arrival to your home.
9. Organizing and Styling
After the wall unit is installed, it’s time to organize and style the contents – which is probably the most exciting part. Consider the items that will be stored or displayed in your Custom Wall Unit and arrange them however you desire. Use decorative accents such as artwork, plants, or lighting to enhance the overall look, or simply let the natural materials take over as the show piece.

Again, when it comes to choosing a Custom Wall Unit for your home, there will be various stages of planning and consideration to ensure you’re committing to something that’s just right for you and your home. From assessing the space, defining the purpose, designing the unit, selecting materials and leaving the rest up to us, you can create a functional and visually appealing Cabinet that meets your specific needs and enhances the overall look and feel of your space.
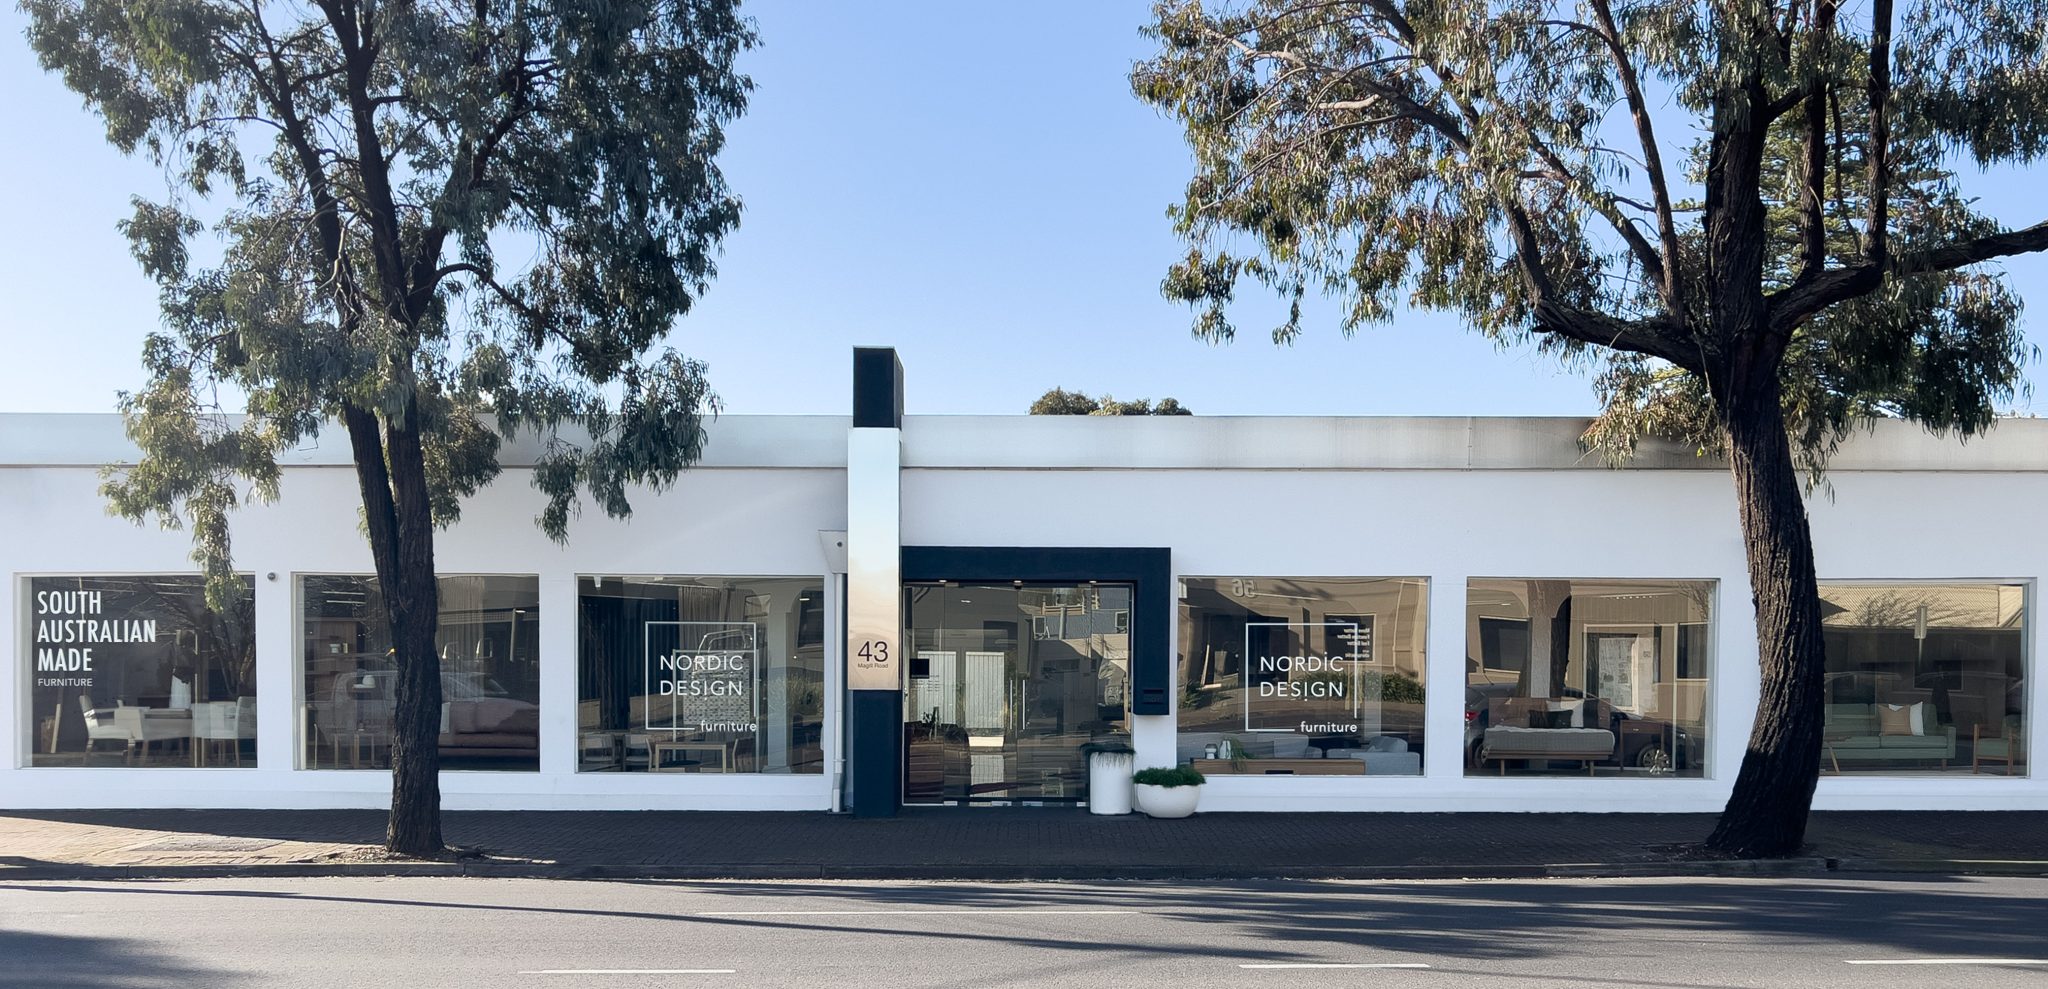
So why not visit our Large Showroom and speak with our friendly staff? We’re conveniently located on Magill Road and offer plenty of rear parking. Explore a range of Cabinets on display and discuss all of your personal requirements so we can best accommodate your needs. We look forward to assisting you in designing your Bespoke Furniture.
